Crafting is one of the core progression systems in Heartopia. The moment a player reaches Development Guild (D.G.) Level 1, a Workbench is placed inside the player’s home, and nearly every form of homestead customization suddenly depends on gathering crafting materials, collecting blueprints, and spending time at the bench. Because the entire system is tied to D.G. progress, higher ranks quietly unlock better blueprints, rarer materials, and advanced Workbench functions. This guide breaks down every part of the crafting loop: the Workbench’s three functions, all 32 crafting materials, every way to earn blueprints, the dyeing and sewing subsystems, and the fastest route to turning gathered items into useful products and gold.
- Workbench Overview: The Three Crafting Functions
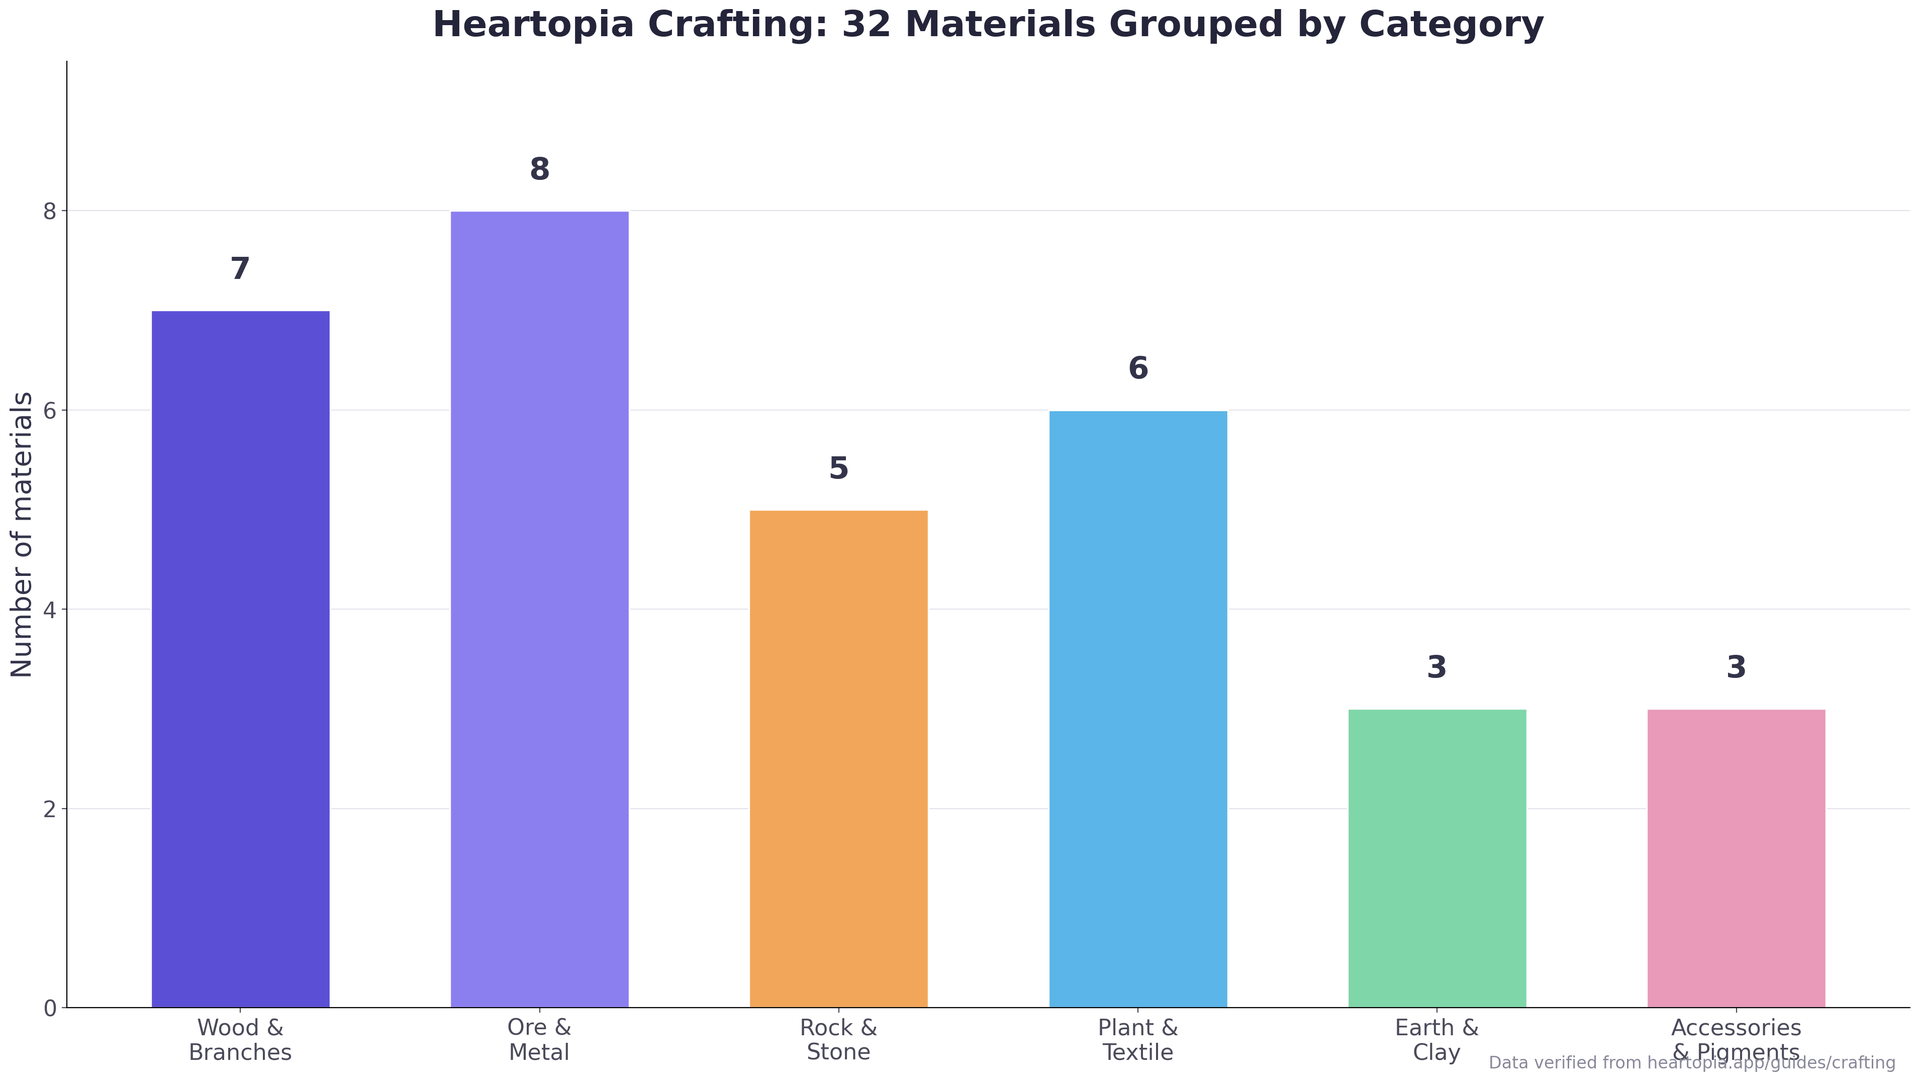
- All 32 Crafting Materials
- Material Processing: Turning Raw Items Into Refined Parts
- Every Blueprint Source Explained
- Dyeing & Sewing: Personalizing Crafted Items
- Crafting Tips: How to Craft Efficiently
- Can Crafting Make Money?
- Heartopia Crafting FAQ
- Related Heartopia Guides

Workbench Overview: The Three Crafting Functions
After reaching D.G. Level 1, the Workbench appears in the player’s home automatically; no quest or purchase is required. Every player owns exactly one Workbench, but it can be relocated anywhere inside the home. Opening the bench reveals three functions: Craft, Dye, and Sew.
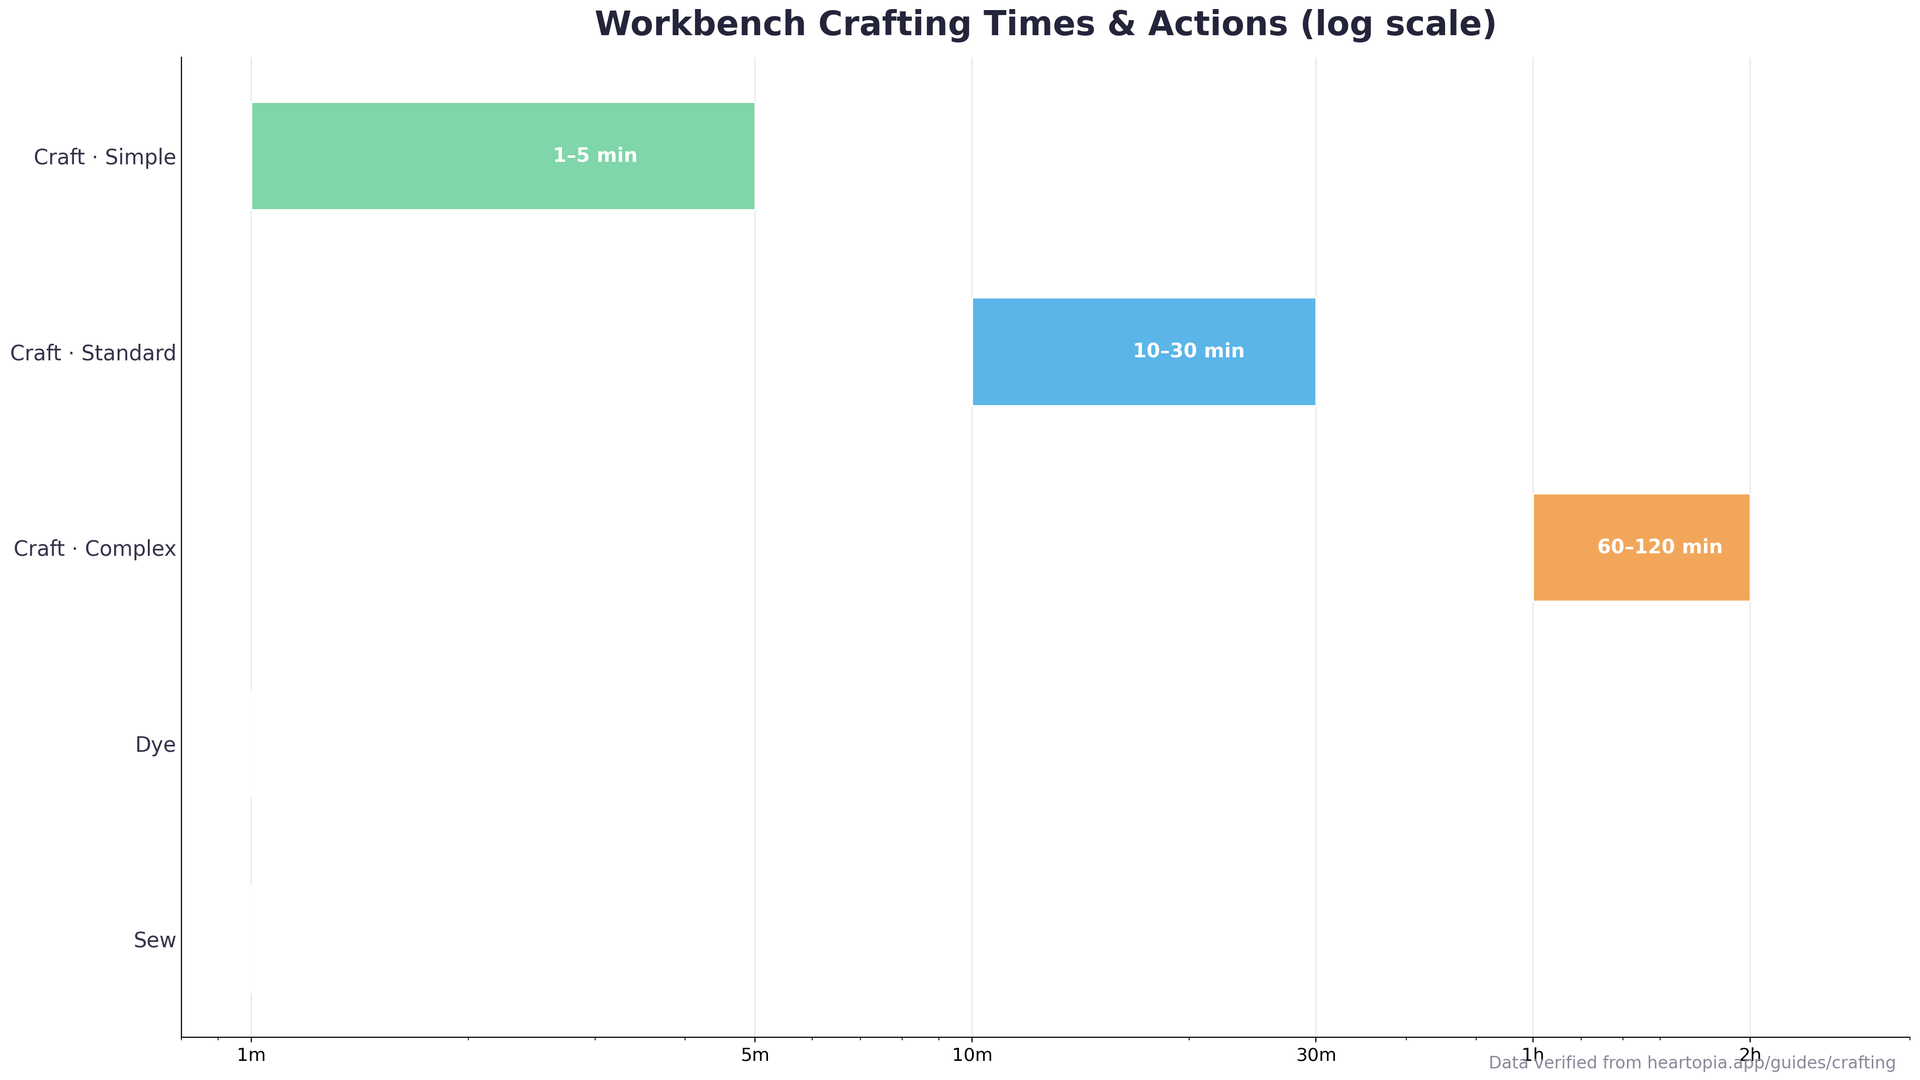
The Craft tab is the primary production station. A player selects a blueprint from the collected set, confirms that the required materials are in the inventory, and the bench begins producing. Crafting time scales with item complexity: simple items such as small decorations and basic tools take 1–5 minutes, standard furniture and medium decorations take 10–30 minutes, and complex furniture sets and special items take 1–2 hours. Up to three jobs can be queued at once, and finished items are delivered to the inventory automatically. If any material is missing, the bench simply will not start the job, so there is no risk of losing partial materials.
The Dye tab recolors compatible crafted items. Not every item accepts dye; dye-compatible items display a paintbrush icon. Each dye operation consumes one Dye Pigment of the chosen color. The Sew tab handles clothing and fabric items and becomes available at D.G. Level 4, using Fabric, Thread, and sometimes Buttons or Zippers as materials. Sewing blueprints are unlocked separately, primarily through the Collections system and seasonal events.
All 32 Crafting Materials
Heartopia features exactly 32 distinct crafting materials, arranged by category. Some are collected directly from the world, while others must be processed at the Workbench first. The table below lists every material, its category, and where the player obtains it.
| Material | Category | Source Location |
|---|---|---|
| Softwood | Wood | Maple trees, Whispering Woods |
| Hardwood | Wood | Oak trees, Sunstone Ridge |
| Darkwood | Wood | Pine trees, Moonveil Forest |
| Driftwood | Wood | Beach areas, Coral Cove shoreline |
| Branches | Wood | Any tree (shake or chop), ground spawns |
| Timber | Wood (Processed) | Crafted from Softwood or Hardwood at Workbench |
| Polished Timber | Wood (Processed) | Crafted from Timber at Workbench |
| Resin | Plant | Tree tapping, any mature tree |
| Rough Stone | Rock | Mining rocks in Meadow Fields |
| Smooth Stone | Rock | Mining rocks near rivers and lakes |
| Granite | Rock | Sunstone Ridge mining nodes |
| Marble | Rock | Crystal Caverns, rare surface nodes |
| Sandstone | Rock | Desert biome, Coral Cove cliffs |
| Iron Ore | Ore | Mining nodes in Sunstone Ridge and Crystal Caverns |
| Copper Ore | Ore | Shallow mining nodes, Meadow Fields |
| Gold Ore | Ore | Deep mining nodes, Crystal Caverns |
| Silver Ore | Ore | Moonveil Forest mining nodes |
| Flawless Fluorite | Ore (Rare) | Rare drop from Crystal Caverns, special mining events |
| Iron Ingot | Metal (Processed) | Smelted from Iron Ore at Workbench |
| Copper Ingot | Metal (Processed) | Smelted from Copper Ore at Workbench |
| Gold Ingot | Metal (Processed) | Smelted from Gold Ore at Workbench |
| Weeds | Plant | Ground spawns across all outdoor areas |
| Fiber | Plant (Processed) | Processed from Weeds at Workbench |
| Cotton | Plant | Cotton plants, Meadow Fields farm plots |
| Fabric | Textile | Crafted from Cotton or Fiber at Workbench |
| Thread | Textile | Crafted from Cotton at Workbench |
| Clay | Earth | Riverbanks, lake edges, Coral Cove |
| Brick | Earth (Processed) | Crafted from Clay at Workbench |
| Glass | Processed | Crafted from Sandstone at Workbench |
| Buttons | Accessory | Bob’s Furniture Store, treasure chests |
| Zippers | Accessory | Bob’s Furniture Store, quest rewards |
| Dye Pigment | Consumable | Flowers, bugs, Bob’s Furniture Store |
Players who understand the D.G. leveling system can predict which materials become relevant as they progress, since higher D.G. ranks unlock the rarer ores and stone such as Marble, Gold Ore, and Flawless Fluorite.
Material Processing: Turning Raw Items Into Refined Parts
Roughly half of the 32 materials only exist because a raw item was converted at the Workbench. This processing loop is the backbone of mid-game crafting, because almost every furniture recipe asks for a processed component rather than the raw ingredient. The chains below show exactly how each raw material becomes its refined form.
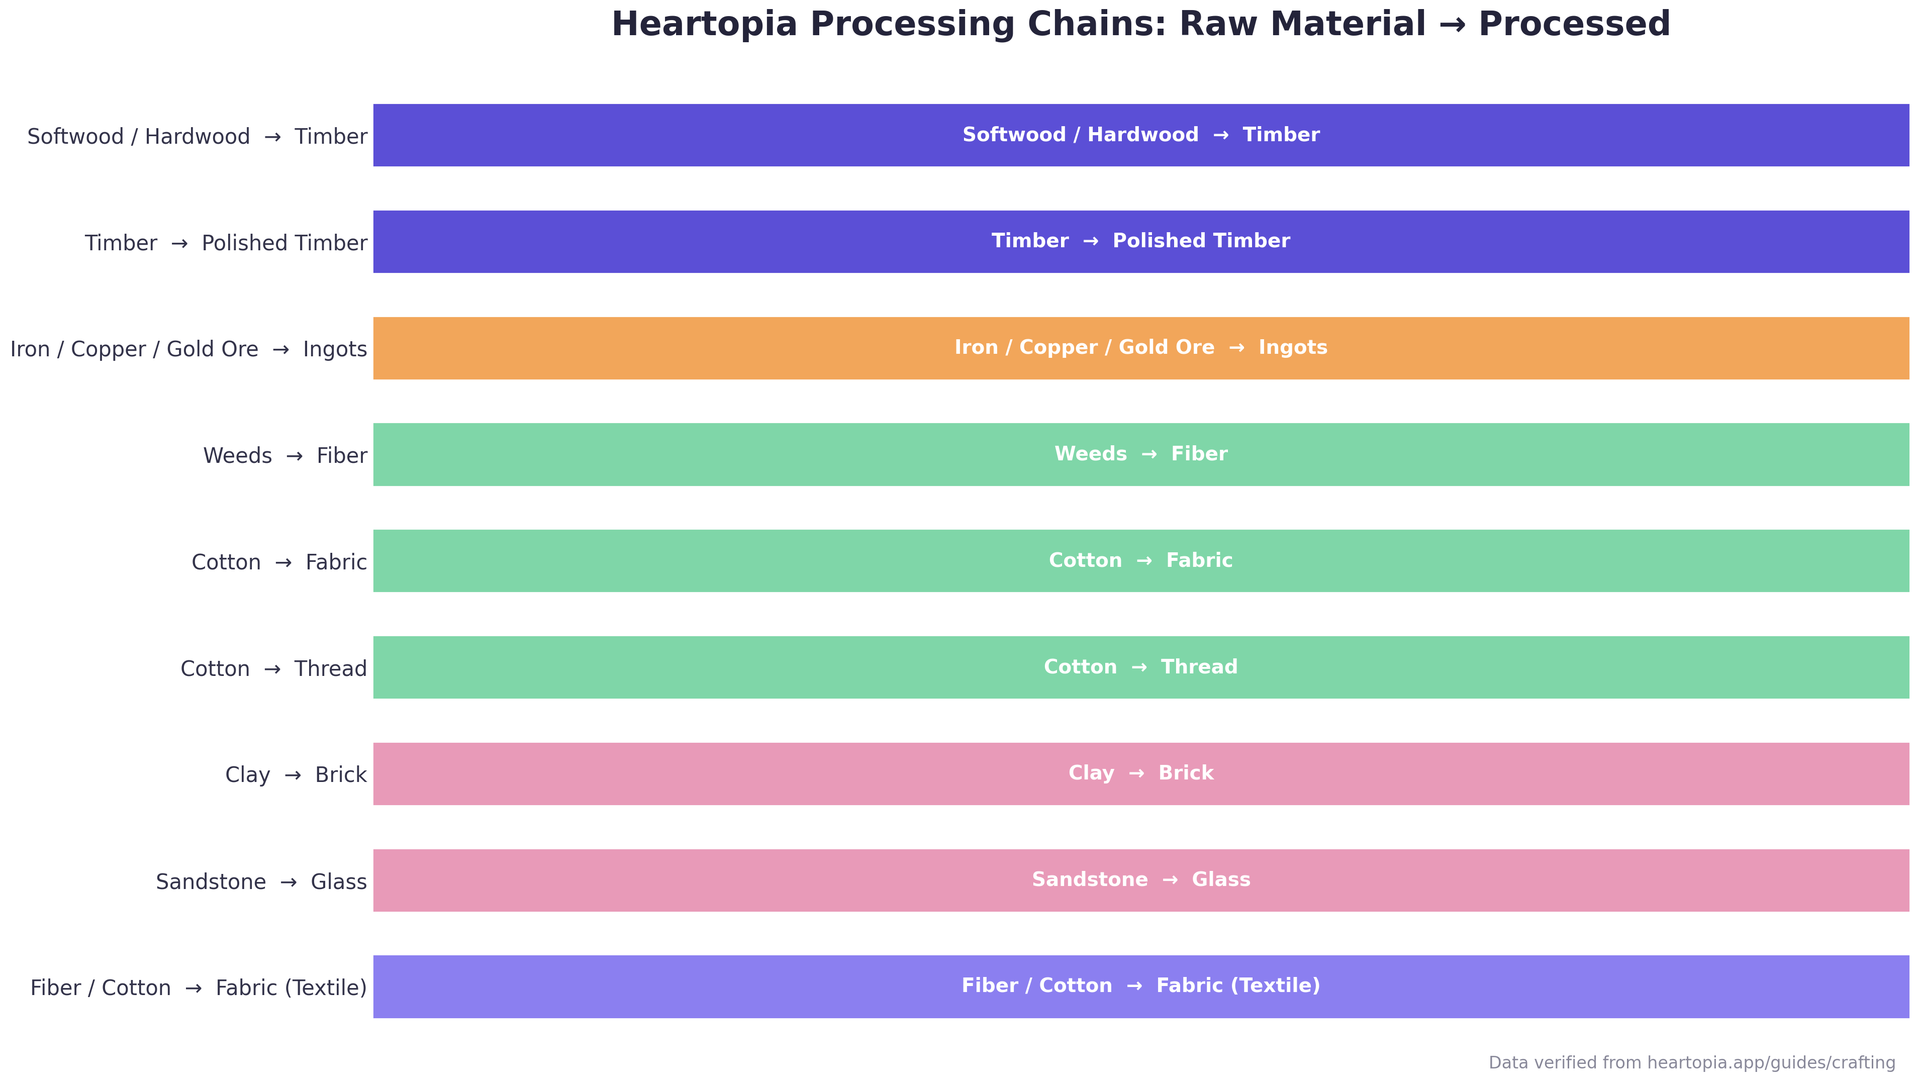
- Timber chain: Softwood or Hardwood → Timber → Polished Timber (2-step wood refinement).
- Metal chain: Iron, Copper, or Gold Ore → the matching Ingot.
- Textile chain: Weeds → Fiber; Cotton → Fabric or Thread; Fiber or Cotton → Fabric.
- Building chain: Clay → Brick; Sandstone → Glass.
Because processing takes real time, the most efficient approach is to batch raw materials into processed stacks before leaving the game. Queueing Timber, Ingots, and Fabric before logging off means the next session starts with a full stock of refined components. This is especially valuable when the player is following the unlock order in our home building guide, which requires steady supplies of wood, stone, and brick.
Every Blueprint Source Explained
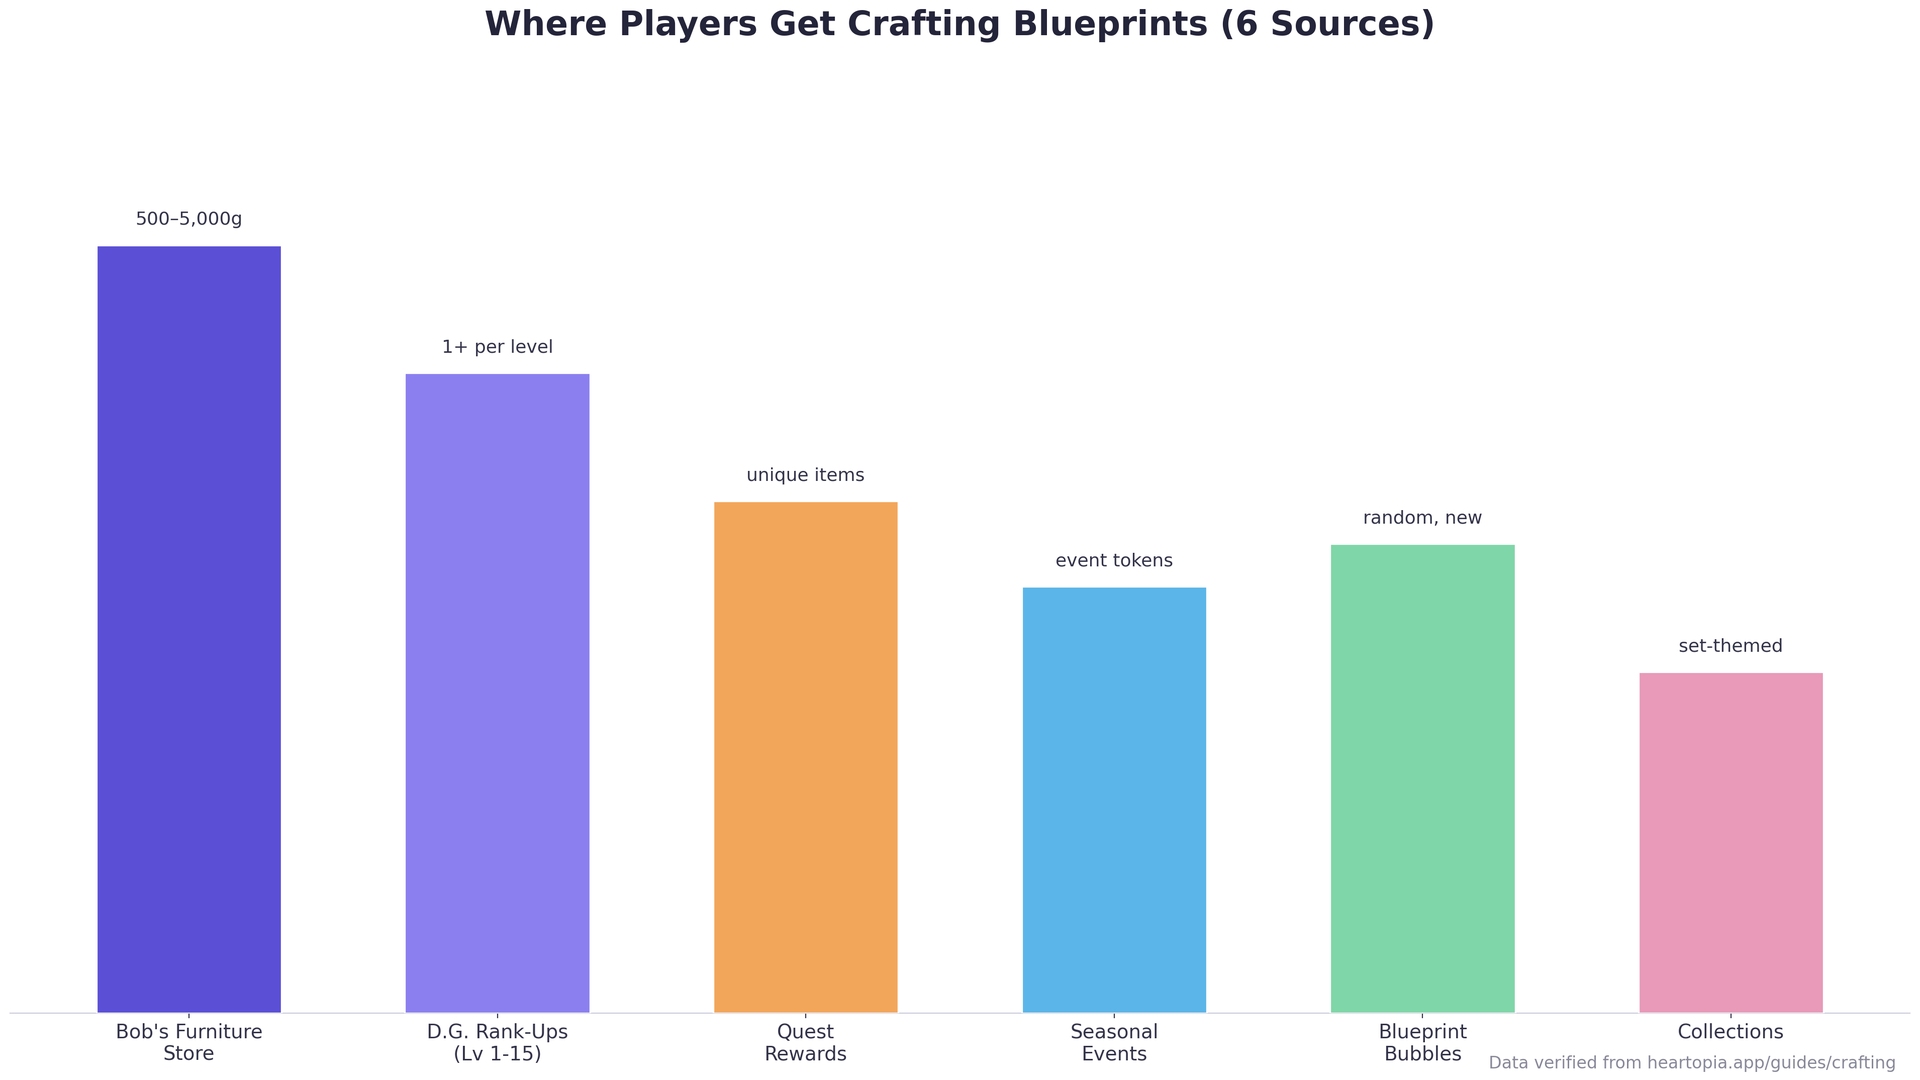
Blueprints are not discovered automatically; each one must be earned. There are six reliable ways to add blueprints to the collection, and players who use all six unlock far more items than those who rely on a single method.
Bob’s Furniture Store
Bob’s Furniture Store in the town square is the most dependable source of basic and intermediate blueprints. The inventory rotates weekly and stocks between 8 and 12 blueprints at a time, priced from 500 Gold for simple designs up to 5,000 Gold for advanced ones. Because the selection rotates, checking the store every week prevents missing a limited design. See the shopping and store guide for the full list of what the town shops sell.
Quest Rewards
Main story quests and certain Resident Request chains award blueprints on completion. These tend to be unique items that are otherwise unobtainable. Notable examples are the Starlight Lamp (main quest Chapter 3) and the Moonveil Bookshelf (the Librarian’s quest chain), making story progression valuable for collectors.
Seasonal Events
Limited-time events introduce exclusive, event-themed blueprints. Past events include the Spring Blossom Festival, Summer Splash, Harvest Moon Gala, and Winter Wonderland, and most require event-specific tokens earned through event activities. Players can time their crafting plans around the seasonal events calendar.
Blueprint Bubbles
Floating translucent Blueprint Bubbles occasionally drift above the ground across the overworld. Popping one grants a random blueprint the player has not yet collected. These spawn more often in areas that have not been fully explored, so fresh zones are the best places to hunt them.
Collections
Completing a full Collection set — for example, gathering every fish in a category or every flower of one type — rewards a themed blueprint. Collection blueprints are often among the most visually impressive items in the game, so completionists have a clear reason to finish sets. Our flower crossbreeding guide helps with flower-based collections.
D.G. Rank-Ups
Every D.G. level from 1 through 15 grants at least one new blueprint automatically. Rank-up blueprints are typically functional rather than purely decorative: storage chests, upgraded tools, and workstations. Prioritizing these keeps the homestead efficient before spending on decoration.
Dyeing & Sewing: Personalizing Crafted Items
The Dye function recolors compatible crafted items instantly. The base palette includes 12 colors: Red, Orange, Yellow, Green, Blue, Purple, Pink, White, Black, Brown, Teal, and Coral. Each operation consumes one Dye Pigment of the matching color. Some items support two-tone dyeing with a primary and secondary color, which consumes two Dye Pigments per operation. Colors can be previewed before confirming, so no pigment is wasted.
Dye Pigments are obtained by harvesting flowers (each flower color yields its matching pigment), catching certain bugs, or buying them from Bob’s Furniture Store at 200 Gold each. Flower-grown pigments make dyeing effectively free over time; check the flower color guide to plan the garden. Sewing, available at D.G. Level 4, extends this system to clothing and fabric items using Fabric, Thread, Buttons, and Zippers. Its blueprints come mainly from Collections and seasonal events rather than the standard crafting pool.
Crafting Tips: How to Craft Efficiently
A few habits make the crafting system far less grindy. First, gather materials passively: pick up Weeds, Branches, and rocks while traveling between objectives, because mid-game recipes demand large stacks. Second, process in batches, queueing conversions before logging off. Third, check Bob’s store every week, since a missed rotation can mean waiting several cycles for a design. Fourth, prioritize functional blueprints such as storage chests, tool upgrades, and cooking stations before decorative pieces. Connecting the kitchen is worthwhile alongside the cooking recipes guide, because processed food and crafted items both feed the early gold economy. Finally, save every piece of Flawless Fluorite; it is a rare requirement across several end-game recipes, so it should never be spent on mid-tier items.
Can Crafting Make Money?
Yes. Most crafted items can be sold to shops or through the player marketplace, and selling prices are generally higher than the combined cost of the raw materials. That margin makes crafting a viable money-making strategy once a player owns a few reliable blueprints and a steady material flow. Combining the cheapest processing chains with high-value outputs creates passive-ish income without farming. For a full breakdown of gold strategies, including how crafting compares to fishing and crop selling, see the Heartopia money guide. Crafted items also plug directly into the home design and furniture collection for collection-driven play.
Heartopia Crafting FAQ
How does a player unlock the Workbench?
The Workbench is placed automatically when the player reaches D.G. Level 1. No quest or purchase is needed.
Can a player own more than one Workbench?
No. Each player has a single Workbench, but it can be relocated anywhere inside the home at any time.
What happens if a crafting job runs out of materials?
The Workbench will not start a job unless all required materials are present, so there is no risk of losing partial materials.
Can crafting be sped up?
Currently crafting timers cannot be skipped or accelerated. Players can queue up to three jobs and let them finish while doing other activities.
Can crafted items be sold?
Yes. Most crafted items can be sold to shops or through the player marketplace, usually for more than the raw materials cost, which makes crafting profitable.
Where does a player find Flawless Fluorite?
Flawless Fluorite is a rare drop from mining nodes in the Crystal Caverns and can appear during special mining events. The drop rate is low, so repeated mining runs are needed.