Energy, also called Stamina, is the resource that limits how much a player can do in a single Heartopia day. Every tool-based action — chopping trees, mining rocks, fishing, tilling soil, watering crops, catching bugs, and tapping trees — drains a set amount of energy, and running out mid-task forces the character into a slow, exhausted state. New players begin with a maximum pool of 100 energy, and understanding how to spend and recover it is one of the quickest ways to make the early game feel less grindy. This guide covers the full energy system: exact tool costs, low-energy rules, every recovery method, how the energy cap grows with the D.G. leveling system, and a daily plan that keeps the player productive from morning until bed.

How Energy Works in Heartopia
Energy governs every activity that uses a tool. Walking around town, talking to NPCs, decorating the home, cooking, and crafting at the Workbench cost no energy at all, and sprinting is free as well. The energy bar appears in the top-left corner of the screen and only depletes when a tool-based action is performed. Because energy does not regenerate passively, a player who spends it carelessly can be forced to stop gathering long before the day ends.
| Activity | Tool | Energy Cost Per Use |
|---|---|---|
| Chopping trees | Axe | 4 |
| Mining rocks | Pickaxe | 5 |
| Fishing (per cast) | Fishing Rod | 3 |
| Tilling soil | Hoe | 2 |
| Watering crops | Watering Can | 1 |
| Catching bugs | Bug Net | 2 |
| Tapping trees | Tapper | 3 |
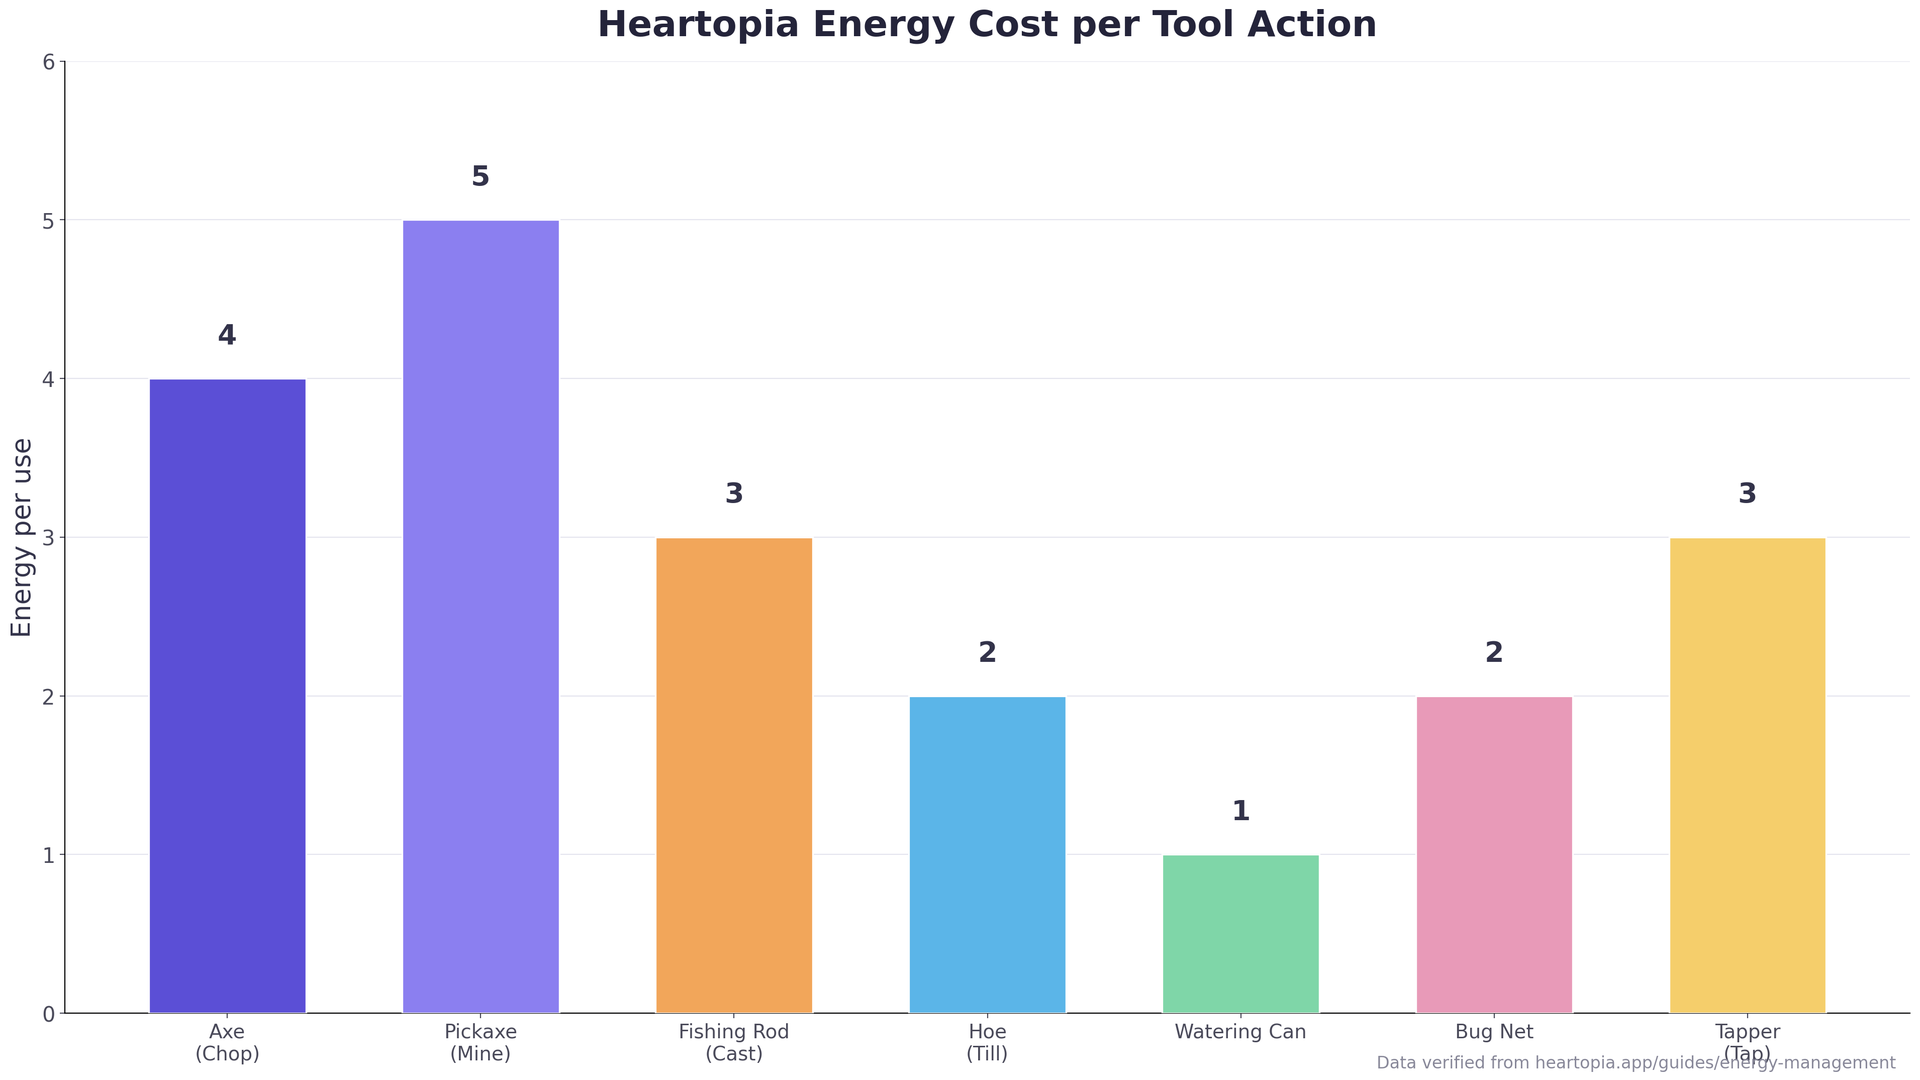
Mining is the most expensive activity at 5 energy per swing, while watering is the cheapest at just 1 energy. In practical terms, the same energy that fills seven mining swings covers thirty-five watering actions, which is why the fastest early progress comes from low-cost activities until the energy pool expands.
Low Energy and Exhaustion
Energy works in two stages as it runs low. When a player’s energy drops below 20 points, the character loses the ability to sprint and slows to a walking pace, making travel between locations noticeably slower. A yellow warning icon appears beside the energy bar to flag this state before it becomes a problem.
At exactly zero energy, the character enters the Exhausted debuff. In this state all tool-based activities are disabled — the player cannot chop, mine, fish, till, water, catch bugs, or tap trees. Movement speed falls again, to roughly half of normal walking speed, and the edges of the screen dim as a visual cue. The debuff clears as soon as the player recovers at least 10 energy through any recovery method.
Importantly, exhaustion is a soft penalty rather than a harsh one. The character never faints and never loses items. A player who runs dry is simply forced to stop working and recover, which keeps the system about planning instead of punishment.
Energy Recovery Methods
There are three primary ways to recover energy: eating food, sleeping, and bathing. Each has different availability, cost, and payoff, and a smart player mixes all three across a single day.
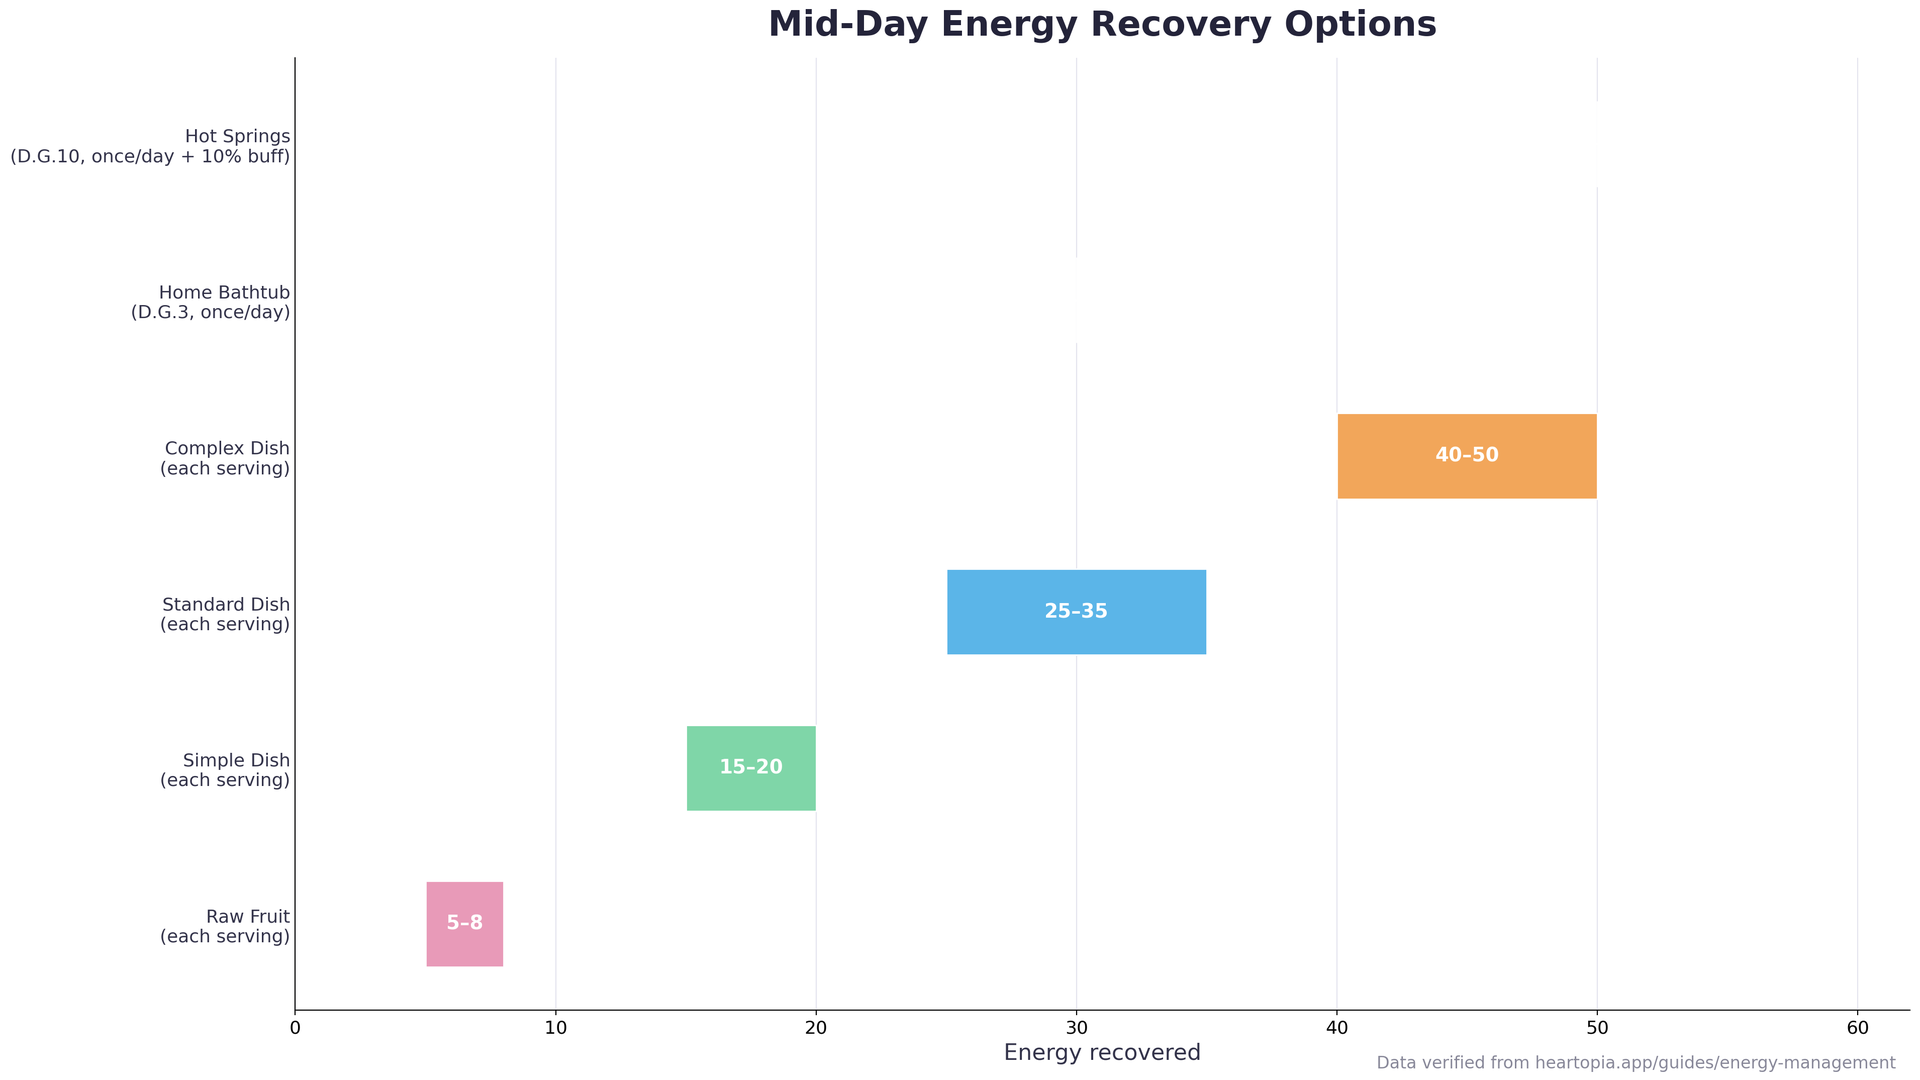
Eating food restores energy instantly anywhere, but it costs dishes that could otherwise be sold for Gold. Sleeping refunds the full pool for free, at the price of ending the current day. Bathing, through a home bathtub or the mountain Hot Springs, restores a fixed amount without advancing the clock, which makes it the key tool for splitting a day into two productive halves.
Eating Food to Recover Energy
Consuming cooked dishes, and some raw ingredients, restores energy immediately and can be done at any time and in any place. This makes food the most flexible recovery method, ideal for long gathering runs far from home. The amount restored depends on the tier of the dish:
| Food Category | Examples | Energy Restored |
|---|---|---|
| Raw Fruit | Apples, Oranges, Grapes | 5–8 |
| Simple Dishes | Grilled Fish, Tomato Soup | 15–20 |
| Standard Dishes | Mushroom Stew, Fruit Salad | 25–35 |
| Complex Dishes | Lobster Bisque, Truffle Risotto | 40–50 |
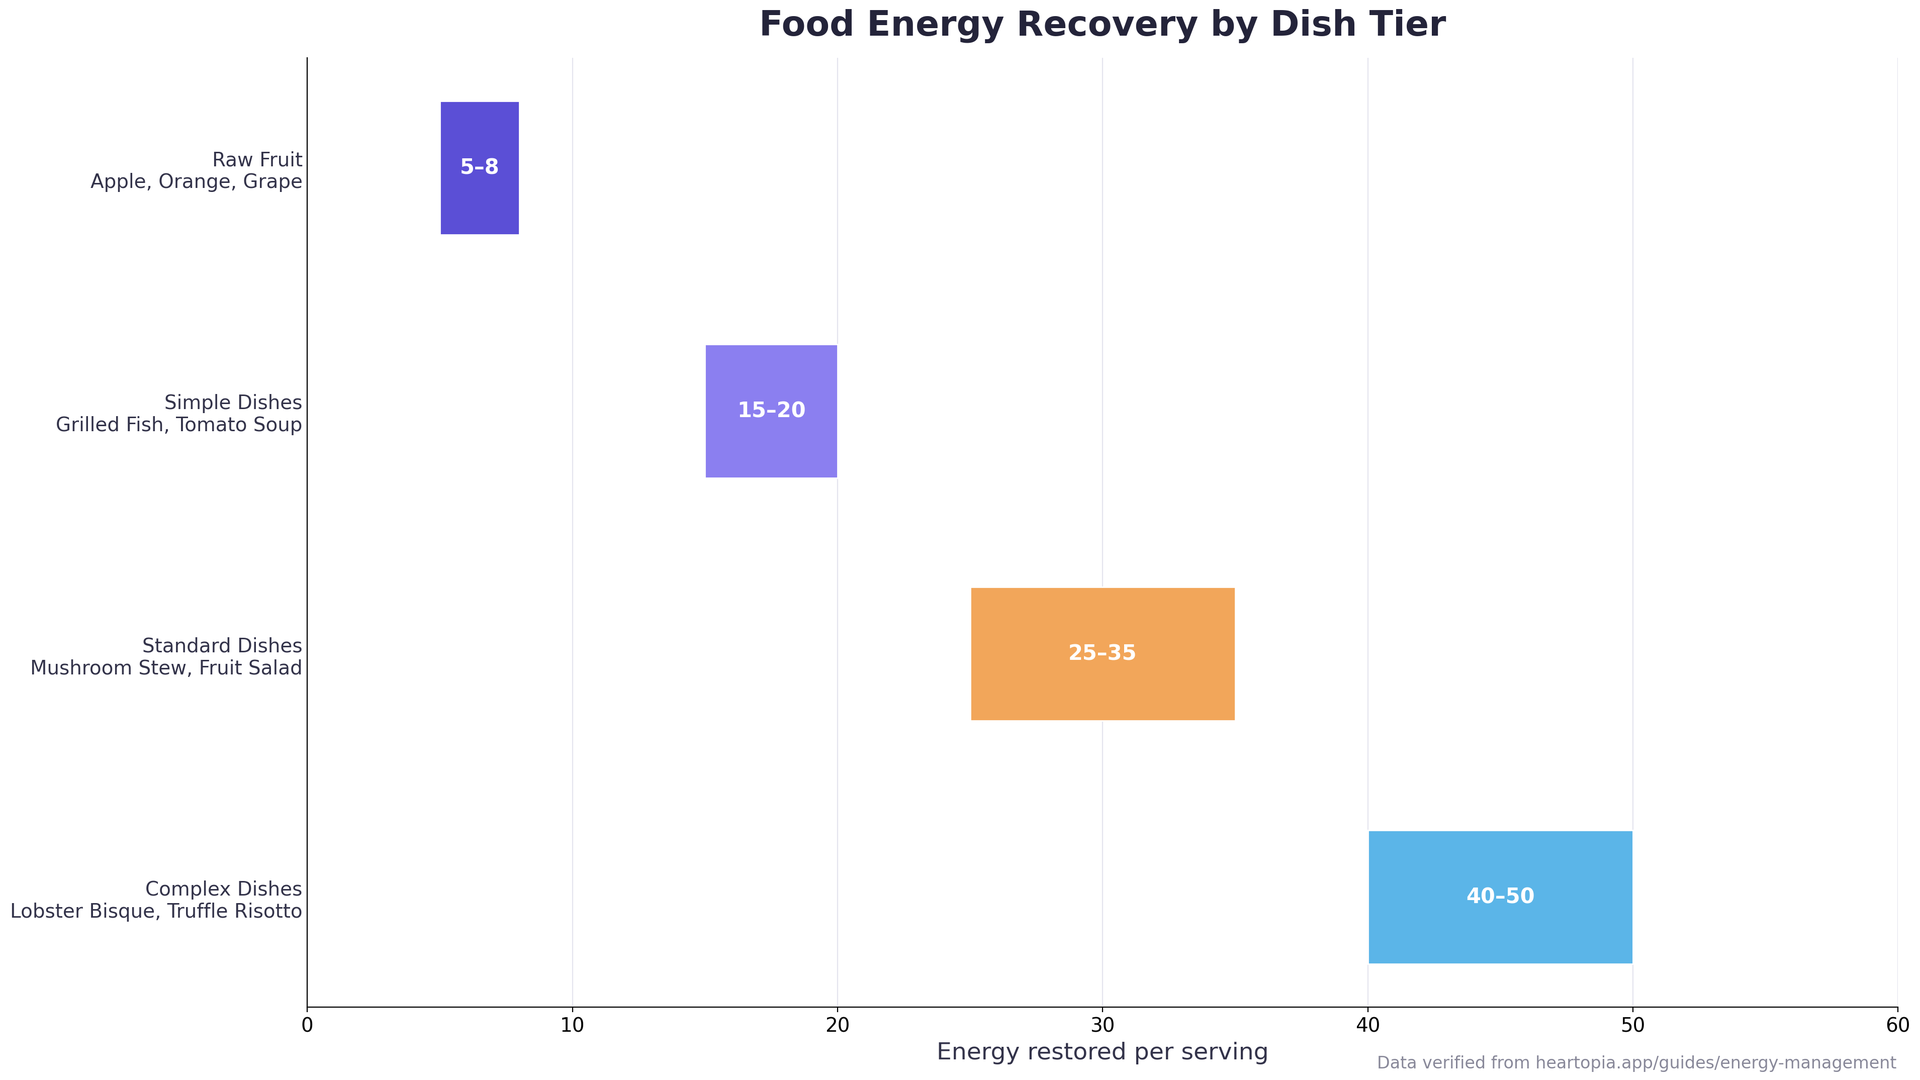
Carrying 2–3 cooked dishes at all times covers unexpected drops during a gathering run. Simple dishes are the most cost-effective for regular use, while complex dishes should be saved for moments when a large energy boost is needed to finish a route in one trip. Because food eaten for energy cannot be sold, players should weigh each dish’s Gold value against its energy value. Recipes that earn well also matter outside pure recovery — the cooking recipes guide lists the best profitable dishes to keep on hand.
Sleeping, the Bathtub, and the Hot Springs
Sleeping is the most powerful recovery tool. Returning home and going to bed restores energy to the full maximum and advances the clock to the next morning at 6:00 AM. It is free and has no cooldown, but it ends the current day, so time-sensitive activities such as evening fish spawns, nighttime bug spawns, and event windows are lost by sleeping early. Players who sleep before finishing daily Resident Requests also miss the chance to complete them.
Bathing offers mid-day recovery without ending the day. The Home Bathtub restores 30 energy once per in-game day. The bathtub must be placed in the home, and its blueprint is earned through the Workbench at D.G. Level 3, so it arrives early. The Hot Springs, located in the mountain area and unlocked at D.G. Level 10, restores 50 energy once per day and also grants a buff that reduces energy consumption by 10% for the remainder of the day. Visiting the Hot Springs before a heavy mining or fishing session effectively extends the whole pool. The home building guide shows how to place a bathtub efficiently as the layout grows.
Max Energy Increases with D.G. Level
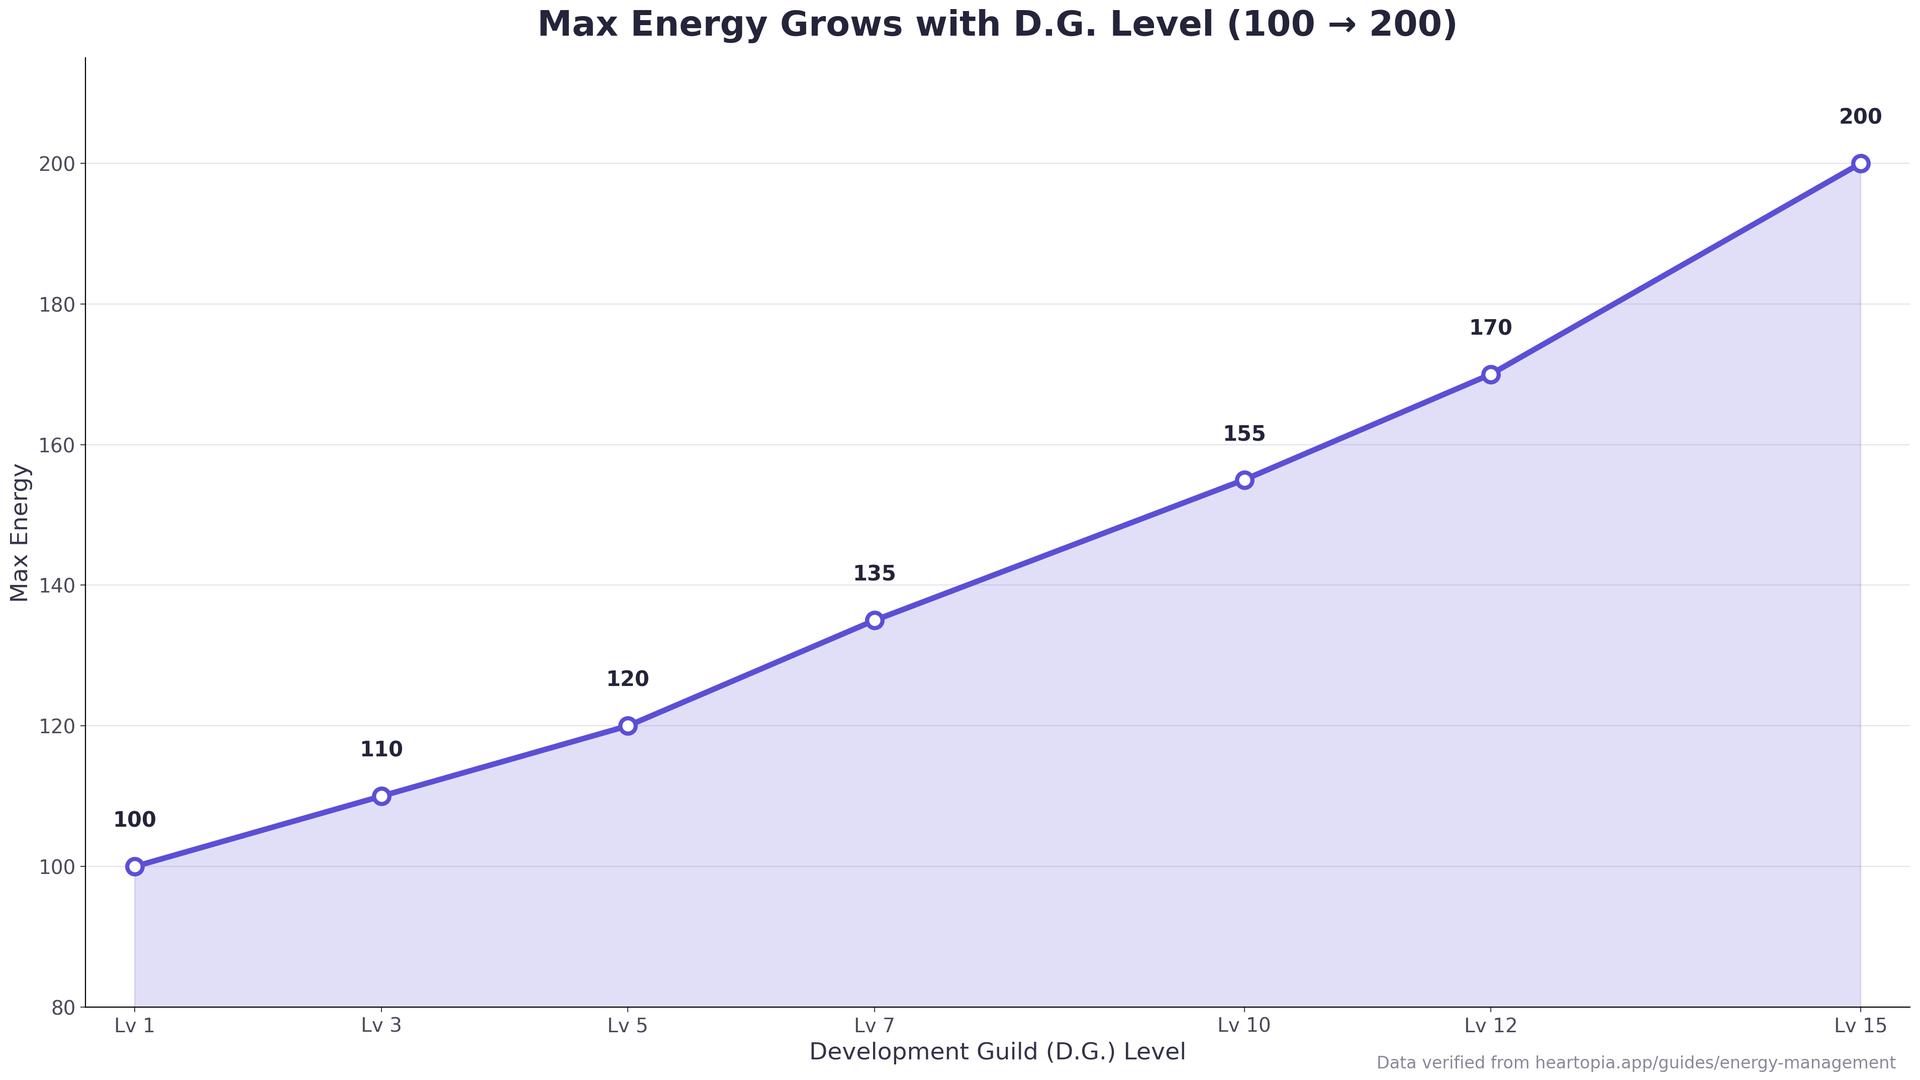
The energy cap is not fixed. It grows permanently as the player advances through the Development Guild ranks, allowing longer gathering sessions at higher levels.
| D.G. Level | Max Energy |
|---|---|
| 1 | 100 |
| 3 | 110 |
| 5 | 120 |
| 7 | 135 |
| 10 | 155 |
| 12 | 170 |
| 15 | 200 |
At D.G. Level 15 the maximum reaches 200 energy, double the starting amount. Combined with the Hot Springs buff, a bathtub refill, and a few dishes of food, a high-level player can perform well over 250 energy points of activity in a single day. Raising D.G. ranks also unlocks the tools and zones that make that extra energy worth spending — the D.G. guide covers the fastest ranking path.
Daily Energy Planning
Efficient energy use means getting the most value out of each day’s pool. Several simple habits prevent running dry before the day’s real work is done.
- Prioritize Resident Requests first. Finish the 5 daily Resident Requests before discretionary gathering, and do any that need mining or tree-chopping early while energy is full.
- Batch similar activities. Travel between zones costs running time. Mine all needed ore in one trip instead of returning in several short visits.
- Use the bathtub or Hot Springs mid-day. Recover after the morning priorities, then start the afternoon gathering or fishing on a mostly full bar. This splits the day into two productive halves.
- Carry food for emergencies. Keep 2–3 simple dishes in the inventory so a long gathering run away from home never ends in a slow exhausted walk back.
- Save heavy mining for days with the Hot Springs buff. Because mining costs 5 energy per swing, the buff makes it roughly 10% cheaper for the rest of the day.
- Know when to sleep. With daily tasks done and little energy left, sleeping is more efficient than eating food to squeeze out a few actions. Save the food for days it is truly needed.
Linking energy planning to other daily loops helps a lot. The seasonal events calendar marks days whose activities deserve reserved energy, the bug catching guide and fishing guide help pick the most energy-efficient money tasks, and the gardening tools guide explains which tool upgrades return the most value per upgrade cost.
Energy Tips for New Players
A few habits make the 100-energy cap feel far less restrictive at the start. Focus early on low-cost activities such as watering (1 energy) and fishing (3 energy) instead of mining (5 energy), because the same pool goes much further. Remember that upgraded tools do not consume less energy per use, but they do produce more materials per action — an upgraded Pickaxe still costs 5 energy but yields more ore, making each point more productive. Use rainy days wisely: rain automatically waters all crops, so spend the saved energy on mining or tree-chopping instead. Finally, there is no penalty for ending the day with leftover energy, and it does not carry over, so it is usually better to spend it on a little extra gathering before sleeping.
Heartopia Energy FAQ
Does energy regenerate over time?
No. Energy does not regenerate passively. It can only be recovered by eating food, sleeping, or bathing. The sole exception is sleeping, which restores energy fully to the current maximum.
What happens if energy runs out far from home?
The Exhausted debuff applies: the player moves at reduced speed and cannot use tools. There is no fainting mechanic and no item loss. Eating food, if available, removes the debuff once 10 energy is recovered; otherwise the player must walk home to sleep or use a bathtub.
Do all activities cost energy?
No. Only tool-based activities consume energy. Cooking, crafting, decorating, shopping, talking to NPCs, and walking are free, and sprinting costs nothing — though sprinting is disabled when energy drops below 20.
Can max energy go beyond 200?
No. 200 is the hard cap at D.G. Level 15. There is no equipment, food buff, or other method to raise it further.
Is eating food or sleeping better for recovery?
It depends on the time of day. Sleeping is free and restores everything, but ends the day. Eating preserves the day but costs dishes that could be sold. For mid-day recovery, eat. For end-of-day recovery, sleep.
Does the Hot Springs buff carry over?
No. The 10% energy-consumption reduction lasts only until the player sleeps. It resets each new day and must be reactivated by visiting the Hot Springs again.
Related Heartopia Guides
- Heartopia D.G. Guide: Levels, Rewards & Fast Leveling
- Heartopia Cooking Guide: All Recipes & Best Profit Dishes
- Heartopia Fishing Guide: All Fish, Rods & Best Money Per Hour
- Heartopia Bug Catching Guide: All Insects & Net Upgrades
- Heartopia Gardening Tools Guide: All Upgrades, Costs & Priority
- Heartopia Seasonal Events Guide: All 12 Festivals & Rewards
- Heartopia Home Building Guide: Layout & Budget Furniture